

Anúncios
Creating a stunning project takes a lot of patience. Many builders skip the first step. Learning the right techniques is key for a perfect finish on your projects.
Refining timber surfaces helps stains go in evenly. This makes your project look professional. Good prep stops blotchy colors on unfinished wood.
Anyone can learn how to sand wood properly with basic tools. This guide shows you how to smooth planks easily. Using the right pressure makes oil finishes look great.
Anúncios
Improving the surface is crucial for every serious hobbyist. The right grit order makes furniture feel great. Sanding off small marks is important for paint jobs.
Making beautiful items is more than just putting them together. Each grit step prepares the wood for the next. Putting in the effort here makes your piece something to be proud of.
Key Takeaways:
Anúncios
- Grit progression prevents deep scratches within the grain.
- Following natural lines of the material ensures clarity.
- Removing dust between steps creates a pristine workspace.
1. Understanding Wood Sanding Fundamentals
Learning wood sanding starts with knowing the basics. It’s a key step in woodworking that smooths the wood surface for finishing. Using the right sanding methods is key for a top-notch finish.
There are many types of sandpaper, each for different tasks. You have open-coat, closed-coat, and special ones for wet or dry sanding. Knowing these differences helps pick the right sandpaper for your project.
The grit size of sandpaper is also very important. Grit sizes go from coarse (low numbers) to fine (high numbers). Coarse grits remove old finishes or smooth rough wood. Fine grits are for the final smooth before finishing.
| Grit Size | Application |
|---|---|
| 60-80 | Coarse sanding, removing old finishes |
| 100-120 | Smoothing out wood surfaces |
| 220-240 | Final sanding before finishing |
| 320-400 | Sanding between finish coats |
To sand wood right, you need to know when to use each grit and sandpaper type. Always sand with the wood grain to avoid scratches. Use finer grits in steps to get a smooth finish.
By understanding these basics, you’ll get better at wood sanding. You’ll be able to make your woodworking projects look professional.
2. Essential Tools and Materials for Sanding Wood
Getting the right tools is key for sanding wood well. Sanding wood needs several important tools and materials. These make the job easier and more effective.
For sanding wood, you’ll need different sanders and sandpaper with various grits. There are handheld, belt, and orbital sanders. Each has its own role in the sanding process.
Handheld sanders are great for small, detailed work. Belt sanders are best for big, flat areas. Orbital sanders are versatile and good for smoothing surfaces.
It’s also important to know about sandpaper grits. Grits go from coarse (low number) to fine (high number). The grit you choose depends on the sanding stage.
| Tool/Material | Description | Use Case |
|---|---|---|
| Handheld Sanders | Small, portable sanders for detailed work | Ideal for sanding small areas and intricate details |
| Belt Sanders | Powerful sanders using a continuous loop of sandpaper | Best for sanding large, flat surfaces quickly |
| Orbital Sanders | Sanders that move in an orbital motion for smooth finishes | Suitable for smoothing out surfaces and removing minor imperfections |
| Sandpaper (Various Grits) | Paper coated with abrasive particles of different sizes | Used for sanding wood to different levels of smoothness |
Choosing the right tools and materials for sanding wood helps you get a professional finish. It also makes the sanding process more efficient.
3. Safety Precautions and Workspace Setup
A well-prepared workspace and following safety guidelines are key for a professional wood finish. Sanding wood creates a lot of dust and can be dangerous without the right safety steps.
Wearing protective gear is essential. This includes safety glasses, a dust mask, and gloves. Safety glasses keep your eyes safe from debris. A dust mask stops you from breathing in wood dust. Gloves help you grip and protect your hands from splinters and cuts.
Good ventilation is also important. It helps clear dust from the air, lowering the chance of breathing it in. Make sure your workspace has good air flow by opening windows or using a dust collector.
Having a well-organized workspace can also make sanding better. Keep your area clean and free of clutter to avoid accidents. Arrange your tools and materials so they’re easy to get to, making your work flow smoother.
Essential Safety Equipment for Sanding
| Equipment | Purpose | Importance Level |
|---|---|---|
| Safety Glasses | Protects eyes from debris | High |
| Dust Mask | Prevents inhalation of dust | High |
| Gloves | Protects hands from splinters and abrasions | Medium |
| Dust Collection System | Removes dust from the air | High |
By focusing on safety and setting up your workspace right, you can make sanding wood smooth and efficient. This will help you get a top-quality finish.
4. Preparing Your Wood Surface for Sanding
The success of wood sanding depends on how well you prepare the surface. It should be free from defects and ready for sanding.
Begin by checking the wood for any flaws like cracks, dents, or uneven spots. Finding these problems early helps you fix them before you start sanding.
Inspecting and Repairing Defects
Look closely at the wood under good light. Search for gaps, holes, or other issues that might affect sanding. Use a wood filler to fix any gaps or holes, and wait for it to dry as the instructions say.
Ensuring Surface Readiness
After the filler dries, check the surface again for evenness and smoothness. Fix any remaining problems at this time. It’s also important to clean the surface of dirt, dust, or debris.
By following these steps, you can sand your wood right, getting a smooth finish for your project. Proper sanding not only makes the wood look better but also gets it ready for finishing coats.
5. How to Sand Wood Properly: The Complete Process
Sanding wood is an art that needs patience, the right tools, and a step-by-step approach. It involves moving through different grits of sandpaper, from coarse to fine. This smooths out the wood surface.
The first step is to use a coarse grit sandpaper. It removes old finishes, dirt, and imperfections. Start with a grit between 80 to 120.
Next, move to finer grits. Use a medium-grit sandpaper (120-150 grit) to smooth out the surface. This step is key for removing any remaining imperfections and preparing for finer grits.
After smoothing with the medium grit, use a fine-grit sandpaper (220 grit or higher). This step is crucial for a high-quality finish. It removes minor scratches and imperfections.
The following table shows the step-by-step sanding process and what to expect at each stage:
| Grit Range | Purpose | Expected Outcome |
|---|---|---|
| 80-120 | Remove old finishes and imperfections | Rough surface with imperfections removed |
| 120-150 | Smooth out the surface | Smoother surface with fewer imperfections |
| 220+ | Final smoothing and preparation for finish | High-quality surface ready for finishing |
By following this guide and using the best sanding techniques, you can get a professional finish. Remember, patience and the right tools are essential for successful wood sanding.
6. Mastering Hand Sanding Techniques
Getting a perfect wood finish starts with hand sanding skills. It’s not just about rubbing sandpaper on wood. Woodworkers need to be precise and in control, which hand sanding provides.
To get good at hand sanding, learn how to hold the sandpaper right. Wrap it around a sanding block for even pressure. This prevents uneven surfaces.
Using the right pressure is crucial. Too little won’t smooth the surface, while too much can cause scratches. Press firmly but gently, letting the sandpaper do the work.
Sand with the wood grain to avoid scratches and get a smooth finish. Sanding against the grain can lead to tear-outs and a rough surface.
Move to finer grits of sandpaper to get a smoother surface. Start with coarse grit and go up to finer ones. This makes the surface smoother.
By using these hand sanding techniques, woodworkers can make their projects look better. Practice and patience are important to get good at these skills.
7. Power Sanding Strategies for Efficiency
To sand wood like a pro, you need the right tools and techniques. Power sanding makes the process faster, leading to a professional finish.
There are many power sanders out there, each for different tasks. You’ll find belt sanders, orbital sanders, and detail sanders.
Belt sanders are great for removing lots of material fast. Orbital sanders are versatile for both coarse and fine sanding. Detail sanders are best for small, detailed areas.
Choosing the right sanding grit is key. Start with a coarse grit and move to finer ones for a smooth finish. Always keep the sander moving to avoid damage and uneven sanding.
Keeping your power sanders in good shape is important. Clean the sanding pads, check for worn parts, and store them right.
- Use the correct sanding grit for the task at hand.
- Keep the sander in constant motion to avoid uneven sanding.
- Regularly maintain your power sanders to ensure optimal performance.
Using these power sanding strategies will boost your sanding efficiency and quality.
8. Sanding Between Finish Coats
Getting a perfect finish needs careful attention, like sanding between coats. This step is key to remove dust or small marks that can ruin the finish.
Begin by letting the previous coat dry fully, as the maker says. Then, use a fine-grit sandpaper, like 220-grit or more, to lightly sand. Always sand with the wood grain to avoid scratches.
Sanding between coats has many benefits. It makes the surface smooth for the next coat, improving the finish. It also helps the coats stick better, making the finish last longer.
Here are some important tips for sanding between coats:
- Use a sanding block for flat areas to keep pressure even.
- For curved or odd shapes, use flexible sanding pads or sandpaper that fits the shape.
- Wipe off dust and dirt with a tack cloth before applying the next coat.
Adding sanding between coats to your wood finishing routine greatly improves your final product. It’s a simple step that makes a big difference in how the finish looks and lasts.
9. Common Wood Sanding Mistakes and How to Avoid Them
Wood sanding is an art that needs patience, the right techniques, and knowledge of common mistakes. Even experienced woodworkers can fall into bad habits or overlook critical steps. This can lead to a subpar finish.
One of the most common mistakes is using the wrong grit sandpaper for the job. Starting with too fine a grit can leave scratches. On the other hand, starting with too coarse a grit can damage the wood surface. Always begin with a coarse grit (about 80-100) and progress to finer grits (120-220) for a smooth finish.
Another mistake is sanding with the wood grain instead of against it. Sanding against the grain can cause tears and scratches that are hard to remove. Always sand in the direction of the wood grain to achieve a smooth surface.
Not dusting off the surface between sanding stages is another common error. Dust particles can scratch the surface or be trapped under the finish, ruining the appearance. Use a tack cloth or vacuum to remove dust after each sanding stage.
By being aware of these common mistakes and taking steps to avoid them, you can ensure a professional finish on your woodworking projects.
10. Achieving a Smooth Wood Surface: Final Steps
A smooth wood surface is key for a beautiful and lasting finish. To get there, you need to follow some important final steps. These steps make sure your woodworking project is ready for the finish.
The final sanding check is very important. Look over your wood surface for any imperfections or scratches. Use a fine-grit sandpaper to fix any problems you find.
Here’s a checklist for the final sanding process:
| Step | Description | Grit |
|---|---|---|
| 1 | Final Inspection | N/A |
| 2 | Sanding | 220 |
| 3 | Final Sanding | 320 |
After the final sanding, your wood should be smooth and ready for the finish. Use a tack cloth to wipe away any dust or debris before applying the finish.
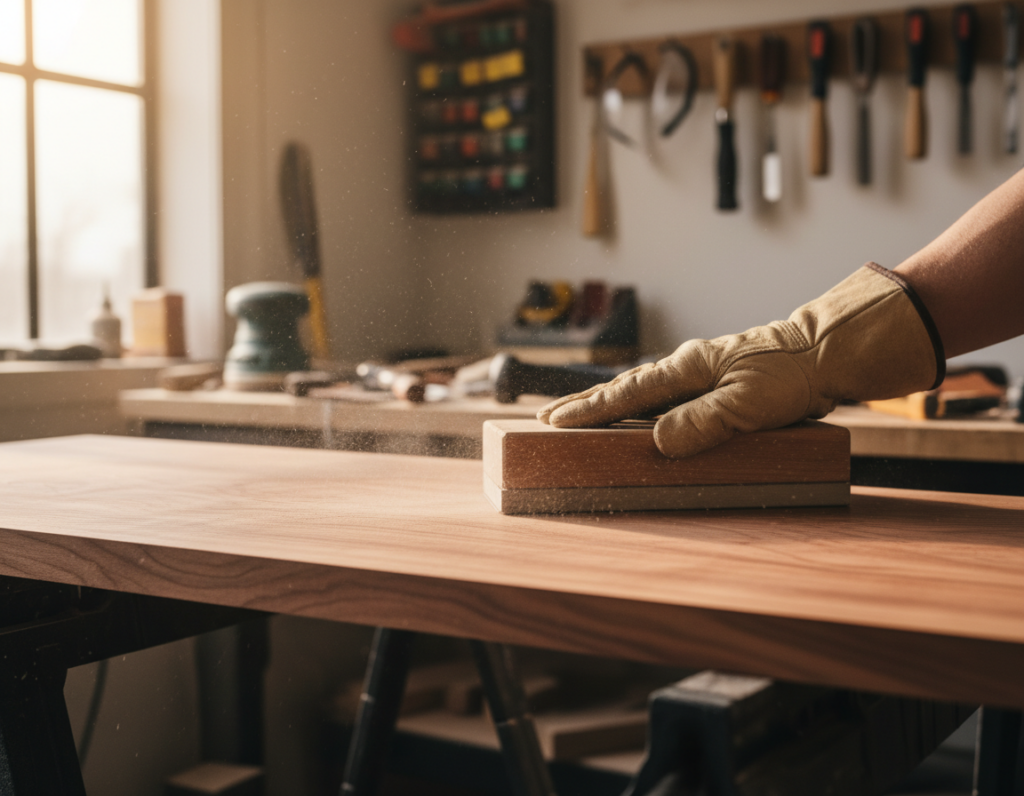
By following these steps, you can get a professional finish. This ensures the best way to sand wood for your project.
11. Conclusion
Learning how to sand wood properly is key to a professional finish in woodworking. Knowing the basics of wood sanding and using the right techniques can greatly improve your work’s quality.
In this guide, we’ve covered different wood sanding methods. We’ve talked about preparing your wood surface and sanding between finish coats. By following these steps and practicing, you’ll get a smooth wood surface ready for finishing.
Good sanding does more than just fix imperfections. It also brings out the wood’s beauty. By using the tips from this guide, you’ll make woodwork that shows your skill and dedication to quality.